


How to Sharpen Ski and Snowboard Edges at Home
Sharpening your own edges at home is one of the most useful ski maintenance skills you can develop. It saves money, extends the time between workshop visits, and means you can touch up your edges the night before a day on the hill rather than skiing on something dull. It's not as complicated as it sounds, but it does require the right tools and an understanding of what you're actually trying to achieve. Here's how to do it properly.
What You'll Need
Before you start, make sure you have the right equipment. Trying to sharpen edges without proper file guides will do more harm than good.
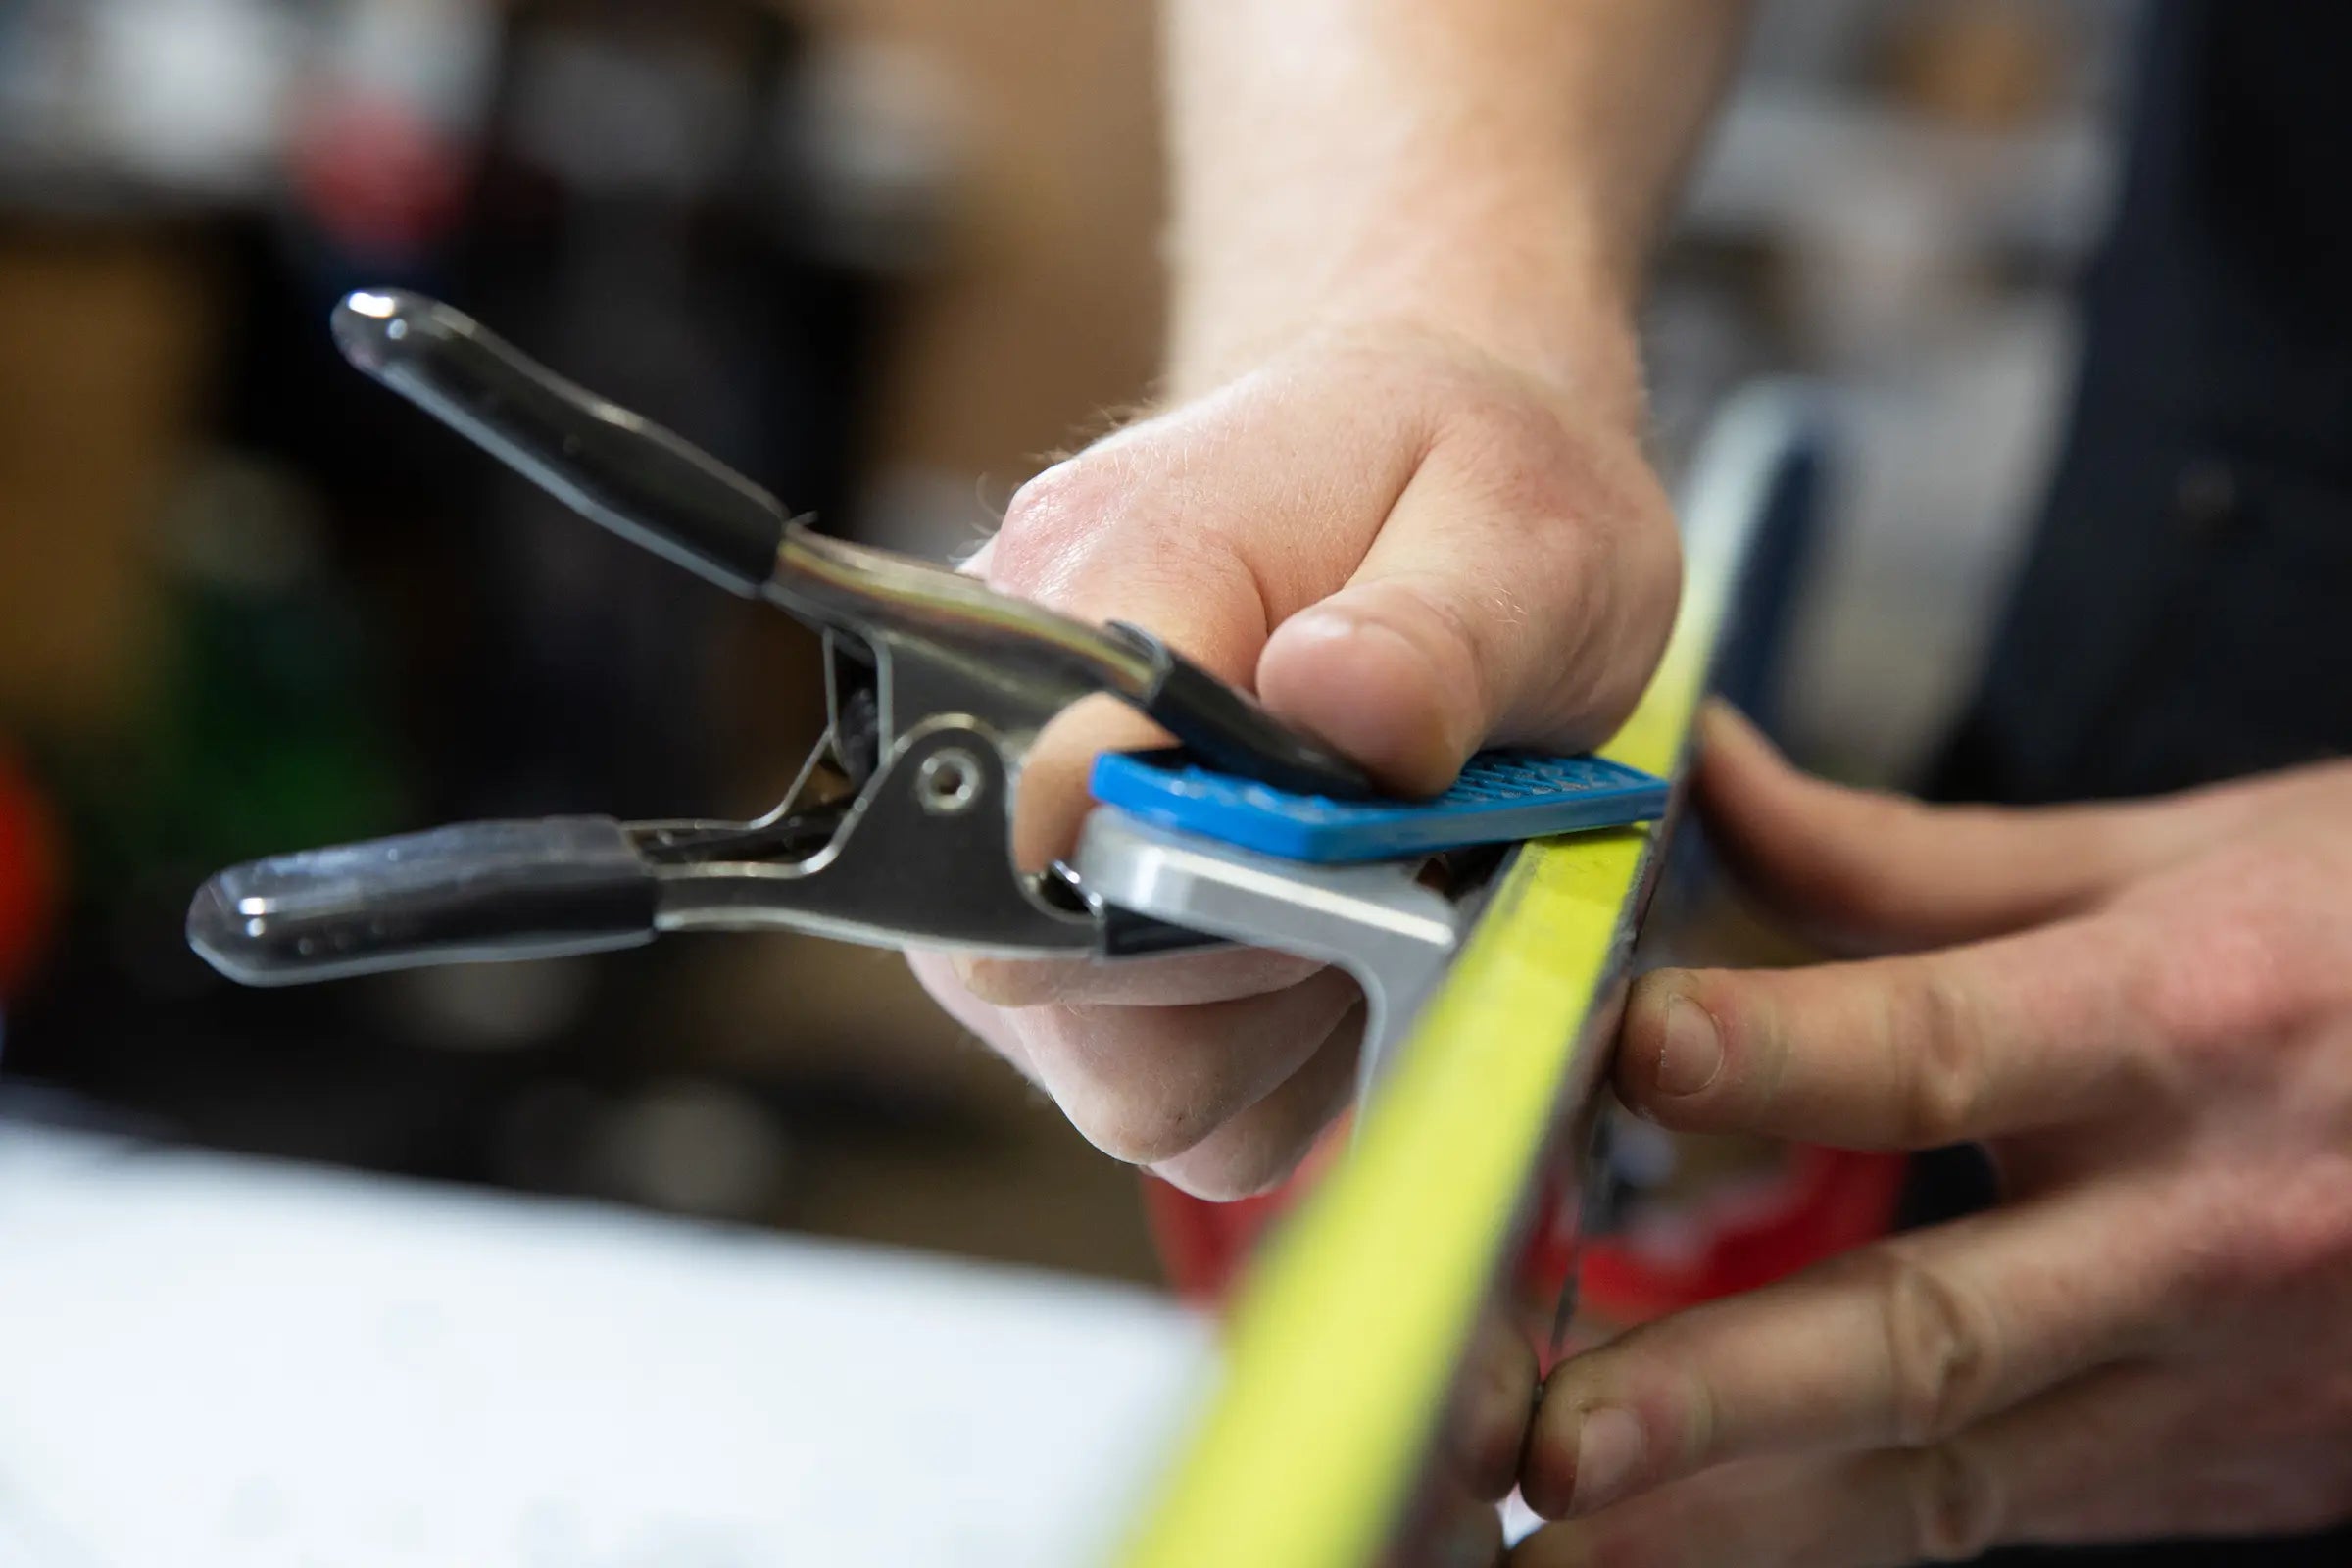
A side edge file guide: this holds your file at a consistent angle to the edge, ensuring you're sharpening to a specific bevel rather than freehand. File guides are available in different angles to match common bevel settings (1, 2, and 3 degrees are the most common for side edges).
A base edge file guide: similar to the side edge guide but designed to work along the base side of the edge. Less frequently needed for home maintenance but important if you're setting base edge bevel from scratch.
A mill bastard file or a medium diamond file: for removing significant dullness and burrs. Diamond files last longer and cut more consistently than traditional files, and are worth the investment if you plan to tune regularly.
A fine diamond file or ceramic stone: for finishing and polishing the edge after the main sharpening pass.
A gummy stone or rubber abrasive: for removing burrs, light rust, and for detuning the tip and tail after sharpening.
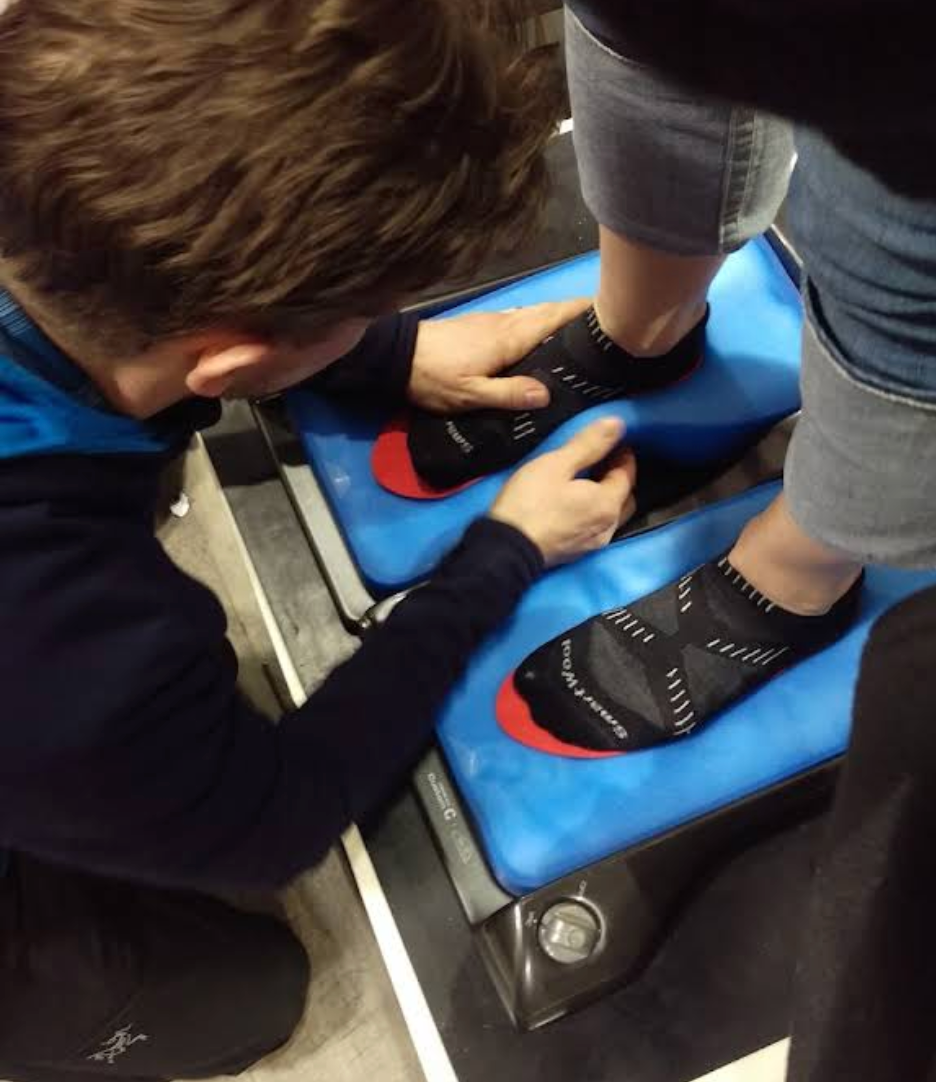
A ski vice or workbench clamp: to hold your ski or board securely while you work. Trying to tune on the floor or across a chair leads to inconsistent results and is harder on your back.
We stock a full range of snow tools online and in store if you need to get set up.
Know Your Bevel Angles Before You Start
The most important thing to establish before you pick up a file is what bevel angles your skis or board are currently set to, and what angles you want. Filing without knowing this risks changing the geometry in ways that affect on-snow performance significantly.
The base edge bevel is the angle on the underside of the edge, where it meets the base. Most recreational skiers run 0.5 to 1 degree. The side edge bevel is the angle on the side of the edge. Most all-mountain skiers run 1 to 2 degrees, with more aggressive skiers going to 2 to 3 degrees for a sharper bite on hard snow.
If you don't know your current angles, ask the workshop that last serviced your gear, or bring them in for a check before you start filing at home. Changing bevel angles unintentionally is one of the most common home tuning mistakes. For more on what these angles mean for on-snow performance, our guide to hand tune vs machine tune covers the detail.
Step One: Inspect the Edge
Before filing, look at and feel the full length of both edges. Run your fingernail across the edge at a right angle at intervals along the ski or board. A sharp edge catches your nail. A dull one lets it slide. Note which sections are dull and which are still in reasonable condition.
Also run your fingernail along the flat face of the side edge. Burrs, caused by rock strikes or rail contact, feel like rough or jagged spots. These need to be addressed before sharpening, as filing over a burr can push it further into the edge rather than removing it.
Use your gummy stone to remove any burrs and light rust before you begin. Work along the edge with light, consistent pressure, moving tip to tail.
Step Two: Sharpen the Side Edge
This is the main sharpening step and the one that makes the most difference to on-snow grip. Attach your file to the side edge file guide set to your target bevel angle. Place the guide flat against the side of the ski or board with the file sitting against the edge, and work from tip to tail in smooth, consistent strokes applying light to medium pressure.
Always file in one direction, tip to tail, rather than back and forth. Filing in both directions creates a rough edge surface that performs worse than a consistently directional edge.
Count your strokes and try to apply the same number to each section of the edge to keep things consistent. You don't need to remove a lot of material. The goal is to restore a clean, sharp edge surface, not to reshape the edge geometry entirely. Three to five passes over dull sections is usually enough for a touch-up. More than that and you're removing more metal than necessary.
After the main file, switch to your fine diamond file or ceramic stone and make one or two finishing passes along the full edge. This polishes the edge surface and removes any roughness left by the coarser file, resulting in a cleaner, more consistent edge contact with the snow.
Step Three: Detune the Tip and Tail
This step is skipped by many home tuners and is one of the most important. A fully sharp edge running all the way to the very tip and tail of the ski or board will catch and hook on entry and exit of turns, making the ski feel unpredictable and tiring to ski on.
After sharpening, use your gummy stone to lightly dull the edge at the tip and tail, roughly the first 5 to 10 centimetres at each end depending on your ski length and personal preference. Work with light pressure in small circular motions until the edge in those zones loses its sharpness to the fingernail test.
For snowboarders, detuning is particularly important and applies more generously toward the tip and tail than on skis, especially for freestyle riders and anyone who rides switch. A twin-tip board should be detuned symmetrically at both ends.
Step Four: Check the Base Edge
For most home maintenance sessions, the base edge doesn't need attention. Home tuning is primarily about maintaining the side edge between full workshop services. However, if your ski feels like it's catching on flat terrain or the edge is engaging more than you'd like when the ski is sitting flat, the base edge bevel may need adjustment.
If you do need to work on the base edge, use your base edge file guide set to the correct angle and make very light passes. Base edge work removes more material than most people expect and changes the feel of the ski significantly. If you're not confident, this is worth leaving to a workshop. Our snow workshop in Queenstown or Wanaka can reset your base edge bevel and give you a clean starting point to maintain from.
Step Five: Finish With a Wax
After edge work, always finish with a wax. Filing creates fine metal particles that settle on the base, and a hot wax followed by a scrape and brush cleans the base and leaves it in good condition for the next day on the snow. Our VOLA tools guide covers the waxing process in full if you want to handle that at home as well, and we stock a full range of wax online and in store.
What Home Tuning Can and Can't Do
Home edge sharpening is excellent for maintaining edges between workshop services and for quick touch-ups before a big day. It keeps your edges performing well without the cost or wait time of a workshop visit every time grip starts to fade.
What it can't do is replace a full workshop service. If your base has significant gouges, your base isn't flat, or your edge geometry has drifted significantly over multiple home tuning sessions, you need a machine tune and base grind to reset things properly. For a full picture of when each type of service is appropriate, our guide to ski tune vs wax vs full service is worth reading, and our guide on signs your gear needs a tune will help you work out when home maintenance isn't enough.
For anything beyond a home touch-up, book your gear in with our workshop in Queenstown or Wānaka and we'll get your edges back to where they should be.